ultimate-guide
Master Home Canning Skills for Chemical-Free Living
Table of Contents
- Why Home Canning Skills Matter for Chemical-Free Living
- Home Canning for Beginners: Understanding Your Options
- Homesteading Skills for Beginners: Building Your Foundation
- Beginner Homestead Garden Planning for Preservation
- Food Preservation for Self-Sufficiency: Beyond Water-Bath and Pressure Canning
- Step-by-Step Home Canning Process and Tested Recipes
- Pantry Planning and Long-Term Food Storage
- Frequently Asked Questions
Last Updated: October 8, 2026
Why Home Canning Skills Matter for Chemical-Free Living
Home canning skills are the foundation of a self-sufficient, chemical-free life. Mastering them gives you complete control over what enters your pantry: no additives, no synthetic preservatives, no industrial processing, just real food preserved through time-tested methods. (Source: the World Health Organization's information on botulism)
At Herban Root and Remedy, chemical-free living isn't a trend, it's a commitment to knowing exactly what's in every jar on your shelf.
The skill connects you to ancestral knowledge: before modern food systems, families preserved their abundance to survive lean seasons. Learning to can safely, without shortcuts, lets you build a genuinely self-sustaining food system today.
Home Canning for Beginners: Understanding Your Options
Your first decision is which method suits your goals. Two approaches dominate home food preservation: water-bath canning and pressure canning, each requiring different equipment.
Water-Bath Canning vs. Pressure Canning
Water-bath canning submerges jars in boiling water (212°F at sea level). It's ideal for high-acid foods with a pH below 4.6, jams, jellies, pickles, and acidified vegetables, because acidity prevents dangerous bacteria, especially botulism (the WHO).
Pressure canning heats jars to 240°F or higher using steam pressure, necessary for low-acid foods like vegetables, meats, and soups. Without it, these foods cannot be safely preserved at home.
The choice isn't which method is "better", it's matching method to food. Water-bath canning low-acid vegetables is unsafe; pressure canning high-acid jams wastes energy.
Homesteading Skills for Beginners: Building Your Foundation
Successful home canning rests on three pillars: proper equipment, strict safety protocols, and knowledge of what causes foodborne illness. Without these foundations, you're guessing, and guessing with food preservation can have serious consequences.
Essential Equipment and Setup
Your equipment list is non-negotiable: a large pot (water-bath) or pressure canner (low-acid foods), glass jars with two-piece lids, a jar lifter, a bubble remover, and a headspace measuring tool. Many begin with water-bath and add pressure canning as they expand into vegetables and meats.
Jar quality matters. Use only jars designed for canning, not repurposed pasta sauce jars or drinking glasses, the glass thickness, rim design, and seal capability are engineered for the process.
Inspect equipment before every session. Check your pressure canner's vent pipe, safety valve, and gauge for blockages or damage, a faulty canner cannot maintain safe processing temperatures.
Canning Safety and Foodborne Illness Prevention
Botulism defines canning safety. Clostridium botulinum bacteria produce a toxin in low-oxygen environments, exactly what sealed jars create. The toxin is deadly in tiny amounts and heat-stable, so boiling an opened jar won't destroy it.
Common mistakes include reducing processing time, lowering heat, substituting untested recipes, or skipping altitude adjustments. These shortcuts feel harmless but undermine the safety margin that prevents contamination.
Beginner Homestead Garden Planning for Preservation
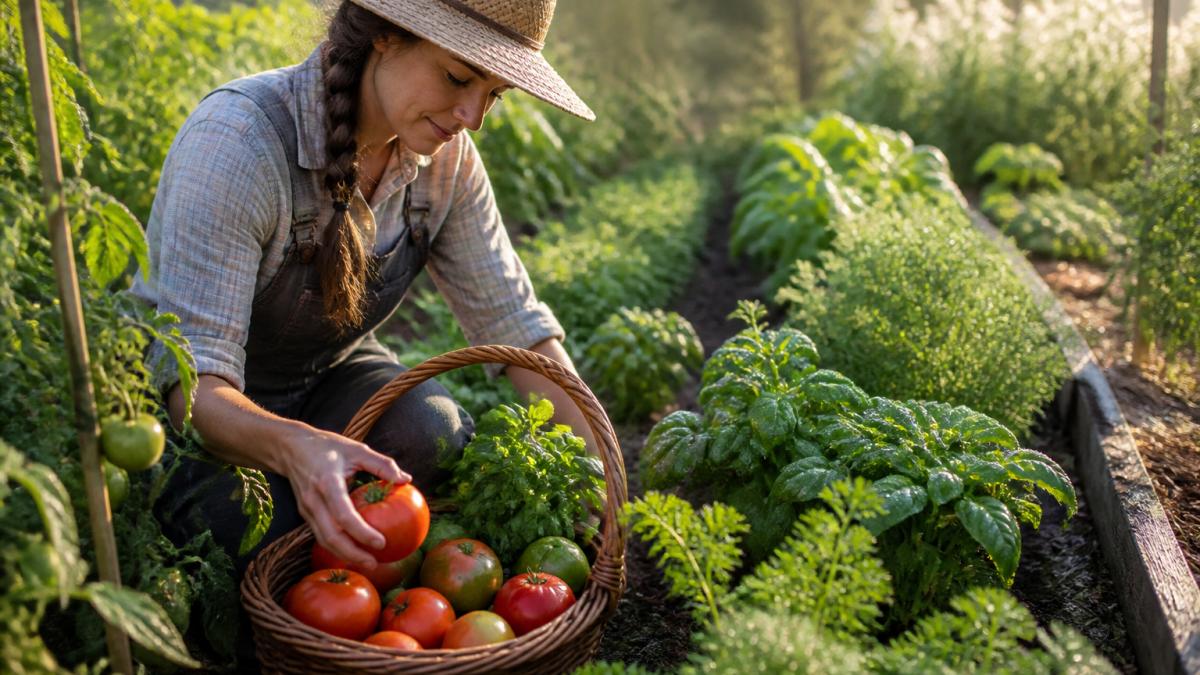
Growing food for preservation changes how you approach your garden. You're not just growing for fresh eating; you're planning harvests that align with your canning calendar and choosing varieties suited to preservation.
Selecting Produce Suited to Canning
Not every vegetable cans well. Tomatoes, beans, carrots, beets, and peppers are preservation staples. Leafy greens, cucumbers (unless pickled), and summer squash are poor choices because they break down during processing or don't hold texture safely.
Varieties matter too. Paste tomatoes (like San Marzano) beat slicing varieties for sauce; pickling cucumbers are bred for firmness and lower water content; canning beans should be tender and young.
Seasonal Harvest Timing and Quantity
Timing your harvest for canning differs from fresh eating. Produce for canning should be picked at peak ripeness, firm, unblemished, and at its nutritional peak, when flavor and nutrient density are highest.
Quantity planning prevents waste and overwhelm. If you plant enough tomatoes for 50 jars but only have time to can 20, the rest spoil.
Food Preservation for Self-Sufficiency: Beyond Water-Bath and Pressure Canning
Home canning is powerful, but it isn't the only preservation method worth mastering. A self-sufficient food system uses several techniques, each suited to different foods, seasons, equipment, and storage. The skill is choosing the right one for each harvest.
A Preservation-Method Decision Guide
Use this framework to decide how to handle any food. The goal is matching the method to the food's moisture, acidity, fat content, and your available energy and storage.
- Water-bath canning, Best for high-acid foods: jams, jellies, fruit preserves, pickles, acidified tomatoes, and most chutneys. Requires a large pot, jars, and a heat source. Moderate energy use. Shelf-stable for a year or more.
- Pressure canning, Required for low-acid foods: plain vegetables, meats, poultry, fish, soups, and broths. Requires a pressure canner and careful gauge or weight monitoring. Higher energy use per batch. Shelf-stable for a year or more.
- Fermentation, Best for cabbage (sauerkraut), cucumbers (brined pickles), carrots, radishes, hot peppers, and some fruits. Requires salt, a crock or jar, and a cool, stable space. Very low energy use. Stores for months in cool conditions; refrigeration extends shelf life.
Matching Method to Food and Household
A few rules keep the decision simple. High-acid foods and fruits go to water-bath canning, drying, freezing, or fermentation. Low-acid vegetables and meats go to pressure canning, freezing, or, for some, fermentation.
Energy and equipment matter as much as food type. If electricity is unreliable, canning, drying, fermentation, and root cellaring beat freezing.
Why Multiple Methods Beat One
Relying on a single method creates bottlenecks. A failed pressure-canner gauge, a freezer outage, or a poor fermentation batch can wipe out a season's work.
Fermentation adds a nutritional dimension canning does not: beneficial bacteria and enzymes remain active, and foods become more digestible. Drying concentrates flavor and nutrients; root cellaring preserves texture with no processing.
Step-by-Step Home Canning Process and Tested Recipes
The canning process follows a consistent rhythm. Understanding each step, and why it matters, builds confidence and safety.
Preparing Jars, Lids, and Equipment
Wash jars, lids, and equipment in hot soapy water. For water-bath canning, sterilize jars by boiling 10 minutes; for pressure canning, hot tap water suffices (processing sterilizes them).
Lids must be new and handled carefully. Soak them in hot (not boiling) water so the rubber seal softens and seals properly.
Following Tested Recipes and Processing Instructions
This is where shortcuts end.
Never reduce processing time, lower the temperature, or skip steps. Never substitute untested ingredients or change proportions significantly.
Processing time varies by altitude. Above 1,000 feet, times must increase to account for water's lower boiling point at higher elevations. Ignoring altitude adjustments creates a real safety gap.
Common Mistakes and How to Avoid Them
The most common mistake is skipping altitude adjustments. People at elevation often assume sea-level recipes apply to them, they don't.
Another frequent error is overloading jars or underfilling the headspace, the empty space between food and lid that lets steam escape and the seal form.
Reusing lids is tempting but unsafe. The rubber seal on a flat lid can only seal once, so reusing it risks seal failure and contamination.
Pantry Planning and Long-Term Food Storage
Once jars are sealed and cooled, the work shifts to storage, inventory, and year-round management. A well-organized pantry is the backbone of food self-sufficiency, and the part most home canners learn last. Here's how much to preserve, how to rotate it, how to read shelf life, and what to do when something goes wrong.
Estimating Quantities Before You Plant or Process
Most wasted effort comes from preserving without a plan. Work backward from what your household actually eats: track one month of normal consumption for the foods you intend to preserve, then multiply by twelve for a year's supply, adjusting for seasonal fresh eating.
For example, two jars of tomato sauce per week is roughly one hundred jars per year; sauerkraut twice a month means a dozen jars may be plenty.
Labeling, Rotation, and Shelf-Life Management
Label every jar with contents and date canned, plus the processing method and any recipe notes if you experiment within tested guidelines.
Rotate stock first-in, first-out: place new jars behind older ones so the oldest is always at the front.
Shelf life varies by food and storage.
Store canned goods in a cool, dark place, ideally 50-70°F. Heat degrades quality and shortens shelf life; light fades color and nutrients.
Troubleshooting: Failed Seals and Spoilage Recognition
Not every jar seals. A lid that flexes up and down when pressed, or has lost its vacuum, did not seal. If a jar fails to seal within a few hours of processing, refrigerate and use it within a few days, do not reprocess it hours later or store it on the shelf.
Spoilage signs to watch for include:
- A bulging lid or a lid that has popped upward
- Seepage, sticky residue, or mold around the rim or under the lid
- Off odors when the jar is opened, sour, yeasty, or putrid
Reducing Waste Across the Year
A pantry plan is also a waste-reduction plan. Use older jars first in soups, sauces, and everyday cooking. Turn surplus tomatoes into sauce or paste before they decline.
Herban Root and Remedy's approach to food preservation emphasizes this integration: preserving with tested methods, and planning your pantry to match your family's actual needs.
Frequently Asked Questions
What skills do you need to become more self-sufficient at home?
Self-sufficiency builds on four core skills: growing food through gardening, preserving your harvest via canning and other methods, preparing meals from scratch without processed ingredients, and creating natural remedies for common health needs. These skills interconnect, a productive garden feeds your canning efforts, which stock your pantry for year-round cooking. Start with one skill and expand gradually as your confidence grows.
What should a beginner learn before trying home canning?
Before canning, understand the difference between water-bath canning (for high-acid foods like jams and pickles) and pressure canning (for low-acid foods like vegetables and meats). Learn how botulism develops in improperly processed foods and why tested recipes and processing instructions matter. Master jar preparation, lid sealing, and equipment inspection. Finally, recognize that safe canning depends on following proven methods, shortcuts and ingredient substitutions can create unsafe conditions.
How do you grow enough food to preserve for later?
Plan your garden around preservation-friendly crops: tomatoes for sauce, beans for canning, cucumbers for pickling, and berries for jams. Succession planting (sowing seeds every 2-3 weeks) extends your harvest window. Grow varieties bred for preservation rather than fresh eating. Calculate quantities by working backward from your preservation goals, if you want 20 jars of tomato sauce, research how many kilograms of quality produce you'll need, then plant accordingly.
What makes home canning truly chemical-free?
Chemical-free canning means avoiding synthetic preservatives, artificial additives, and pesticide residues. It starts with growing or sourcing produce without synthetic chemicals, using salt and vinegar as natural preservatives in pickling, relying on heat processing rather than chemical additives, and storing in glass jars with metal lids, no plastic linings or BPA-containing materials. The entire process, from garden to sealed jar, stays free of synthetic inputs.
How do you know if home-canned food has spoiled?
Inspect sealed jars before opening: the lid should be concave (curved inward), not bulging. Once opened, look for cloudiness in brine, mold, or unusual odors. Taste a small amount first, spoiled food may taste off or sour unexpectedly. If you notice any of these signs, discard the jar. Proper processing, storage in a cool dark place, and regular pantry rotation minimize spoilage risk.
Can you can foods without a pressure canner?
Water-bath canning works safely only for high-acid foods (pH below 4.6) like jams, jellies, pickles, and some tomato products. Low-acid foods like vegetables, beans, and meats require a pressure canner to reach the temperature needed to destroy botulism spores. You cannot safely can low-acid foods using only a water bath, no matter how long you process them. Using tested recipes that specify the correct method is essential.
How long does home-canned food actually last?
Properly processed and stored home-canned foods remain safe and nutritious for 1-2 years. High-acid foods like pickles and jams often taste best within the first year. Low-acid foods like canned vegetables maintain quality longer if stored in cool, dark conditions. Rotate your pantry stock using older jars first. Always inspect for signs of spoilage before consuming, regardless of age.